Drop tables and import your Backup db
OVERVIEW
At this point, you should have an exported file saved locally on your computer called something like wp_yoursite.sql (e.g. in our previous article it was called wp_kristoff (1).sql). We will now import that file into your WP Engine account.If you are following along on the Migration Checklist in the User Portal or need a little more information, this is the first task in the Import Phase.
This section will walk you through accessing phpMyAdmin (an application that allows you to access your MySQL database from your web browsers) through our User Portal (our version of the cPanel), clearing the current default database, and importing your database.
Steps Overview
Importing your database will be done in four steps:- Access phpMyAdmin from your User Portal.
- Select the production default database.
- Drop the default tables.
- Import your database.
1. ACCESS PHPMYADMIN FROM YOUR USER PORTAL:
First log into your User Portal and click the black drop down arrow directly to the right of your installation name (circled in the screenshot below).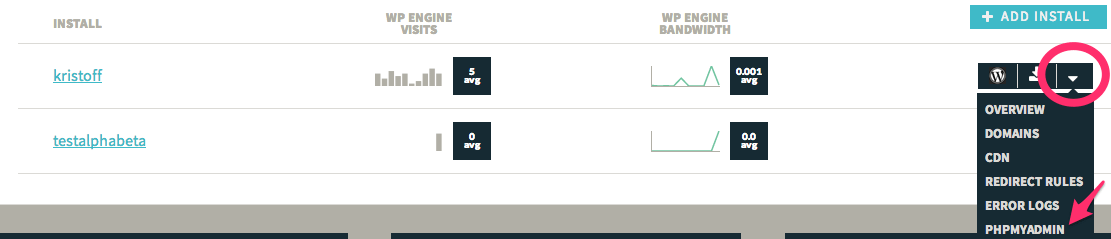
Next, click phpMyAdmin to access your database on the WP Engine servers.
For additional instructions on how to access the client portal, manage installs, and access phpMyAdmin, see the following documents:
2. SELECT THE PRODUCTION DEFAULT DATABASE:
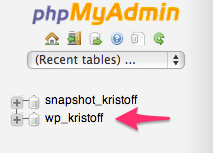
Every install at WP Engine has two databases that are accessible via phpMyAdmin.The first is labeled snapshot_ and is just for your staging site (a staging site is a clone of your website, which can be created and used for testing).
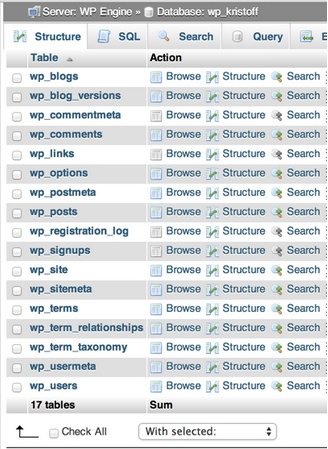
The second is labeled wp_sitename (e.g. wp_kristoff in the screenshot below) and is for your production (or live) site. This is the database we’ll be using in this step.
The wp_sitename database is currently a default WordPress database, containing only the bare bones of an installation.
Click on the database with “wp_” in the name.
3. DROP THE DEFAULT TABLES:
Before importing your database we want to create a clean slate to make room for your incoming database.First, click on Check All to select all of the database tables. Next, from the drop down menu that appears beside Check All, select Drop. Then click on Go in the bottom right corner.
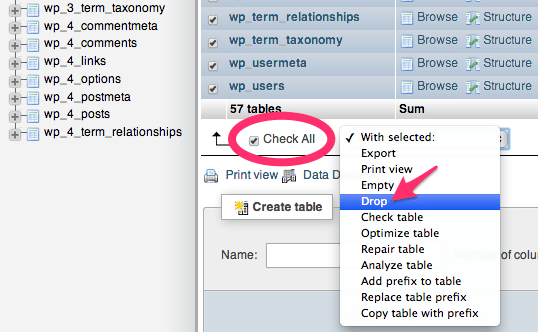
From here you’ll be presented with a confirmation screen. Click Yes to confirm and then the existing tables will be dropped. This will leave you with the perfect conditions for uploading your database.

4. IMPORT YOUR DATABASE:
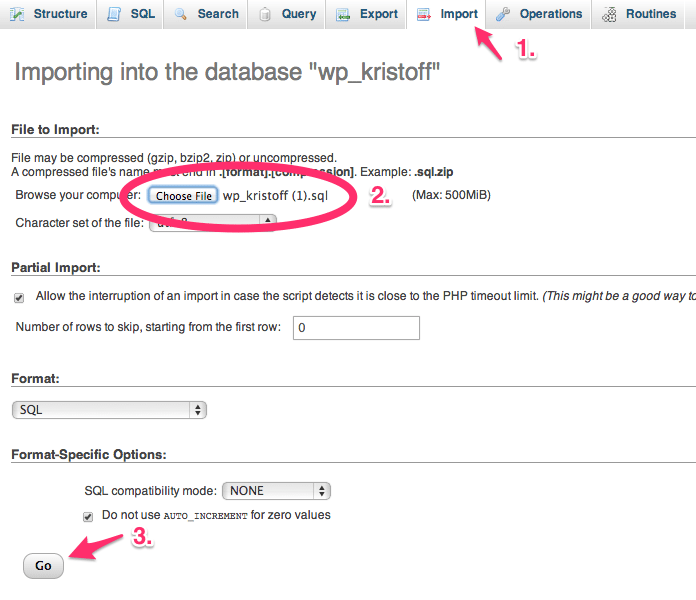
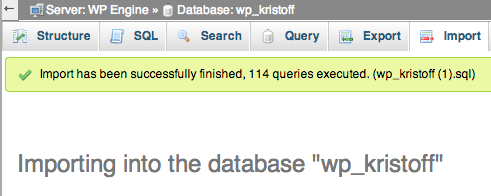
Now you are ready to import your database into WP Engine.Click on the Import tab at the top of the menu. Next, click on Choose File and select your database export file that you previously saved to your computer (called something similar to wp_kristoff (1).sql).
Finally, click on Go at the bottom of the page.
You will now see the new tables in the database, along with a report stating that the import has been successfully finished.
Check database prefix:
Once you have successfully imported your database, you will need to check if your table prefixes are different from wp_.
If your tables do not start with wp_, please read How to change the table prefix to ensure your site works properly on our system.
What to do if your import failed:
If your database import failed, there could be a few different reasons for this. It might be that your database is too large, in which case it needs to be manually imported. Another reason could be that there was an issue with the export.https://wpengine.com/support/importing-database/

Comments
Post a Comment